  |
| Original |
Post your hat image - demonstrating color replacement...
 |
| Edited |
Photoshop
Replacing Color Option 1 and 2
Tool Color Replacement

This is the color that will be replaced, and it will be replaced with your current Foreground color.

"For example, if you pass the target symbol over an area of blue in your photo and your Foreground color is set to red, any blue pixels that the larger circle passes over will be changed to red."
http://www.photoshopessentials.com
Change the foreground color Option 1

Pick a color now it should like...
Things to adjust the tool too..
Start with 13 pixels
40% hardness
25%spacing
Turn off sizes and tolerances

Options Menu
Mode: Hue
Limits: Find Edges
Tolerance : 32% Anti - Alias
Zoom as needed.

How To Use The Color Replacement Tool In Photoshop
Selecting The Color Replacement Tool
The Color Replacement Tool is nested behind Photoshop's regular Brush Tool in the Tools panel. To select it, right-click(Win) / Control-click (Mac) on the Brush Tool, then choose the Color Replacement Tool from the fly-out menu that appears:
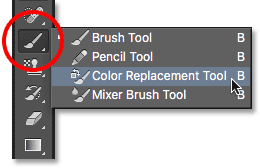
The Color Replacement Tool is hiding behind the Brush Tool in the Tools panel.
With the Color Replacement Tool selected, your mouse cursor will change into a circle with a small crosshair in the center of it. As I mentioned, if you're familiar with the Background Eraser, this will look very familiar to you since both tools use the exact same cursor:
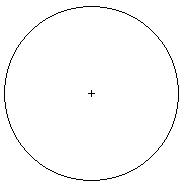
The Color Replacement Tool's cursor is made up of a simple circle with a crosshair in the middle.
Adjusting The Size Of The Brush
You can adjust the size of the cursor directly from your keyboard, just like you can with Photoshop's other Brush tools. Press the left bracket key ( [ ) repeatedly to make the cursor smaller or the right bracket key ( ] ) to make it larger. To change the hardness of the brush edges, add the Shift key. Press Shift+left bracket ( [ ) repeatedly to make the edges softer or Shift+right bracket ( ] ) to make them harder.
How The Color Replacement Tool Works
As you drag the Color Replacement Tool over your image, Photoshop continuously samples the color that's directly under the crosshair in the center of the cursor. This is the color that will be replaced, and it will be replaced with your current Foreground color. Any pixels that fall within the larger circle surrounding the crosshair that match the color being replaced will have their color changed.
For example, if you pass the crosshair over an area of blue in your photo and your Foreground color is set to red, any blue pixels that the larger circle passes over will be changed to red. There's some options we can set in the Options Bar to alter the behavior of the tool (which we'll look at shortly), but essentially, that's how it works.
You can see what your Foreground color is currently set to by looking at the Foreground color swatch near the bottom of the Tools panel. By default, it's set to black:
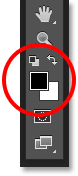
Black is the default Foreground color, but it's probably not the color you'll want to use.
To change the Foreground color, simply click directly on the color swatch, then choose a new color from the Color Picker. I'll choose a green color, just for fun. Click OK to close out of the Color Picker when you're done:
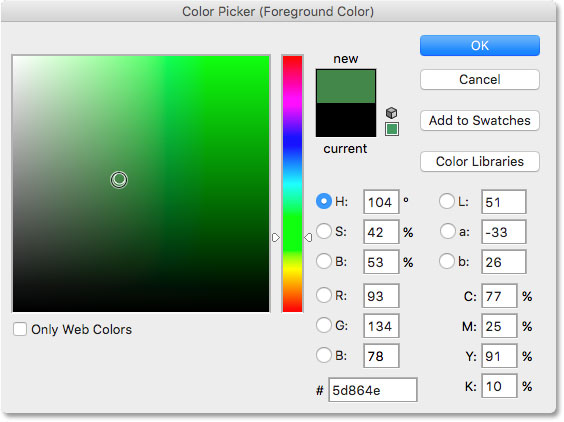
Use the Color Picker to choose a new Foreground color.
If we look again in the Tools panel, we see that my Foreground color swatch is now showing the new color I selected. If I paint on an image with the Color Replacement Tool at this point, whichever color I drag the crosshair over will be replaced with green:
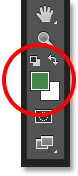
The newly chosen color appears in the swatch.
No comments:
Post a Comment
Note: Only a member of this blog may post a comment.